Paper Mug Tutorial
Hello everyone!
Todays project includes a full video tutorial, that you can fin on my YouTube Channel.
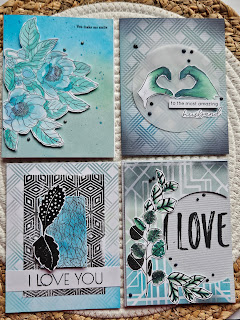
I created these fun paper mugs, and wanted to share the process with all of you.
I begin with a sheet of paper that is 8 1/4 x 4
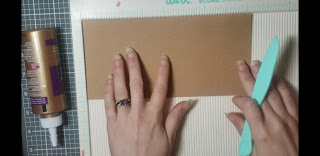 At th 4 inch side, score at the 1 1/2 inch mark.
On the 8 inch side, score at 1,2,3,4,5,6,7 and 8 inch marks.
 Once all your score lines are complete, you can then add details with paper, stamps, or inks. This is really the fun part and with a holiday theme, it would work great!
 You then cut 8 strips or tabs
From the bottom of the paper going only up until the 1 1/2 inch score line.
 Adhere tape to 4 of those tabs and bring each tag together in a crisscross pattern, until you have fully formed the bottom of your mug.
 Cut a separate strip of paper 1 x 4 inches. This will be your handle. Place adhesive on top and bottom of strip. For the top, place adhesive facing you, for the bottom place adhesive facing opposite side.
 Create your handle in a curved finish and your mug is complete!

 I love how these turned out, and I hope you will join me in my channel for the full tutorial!
Happy crafting,
Eny ❤
Todays project includes a full video tutorial, that you can fin on my YouTube Channel.
I created these fun paper mugs, and wanted to share the process with all of you.
I begin with a sheet of paper that is 8 1/4 x 4

On the 8 inch side, score at 1,2,3,4,5,6,7 and 8 inch marks.


From the bottom of the paper going only up until the 1 1/2 inch score line.


Happy crafting,
Eny ❤


Comments
Post a Comment