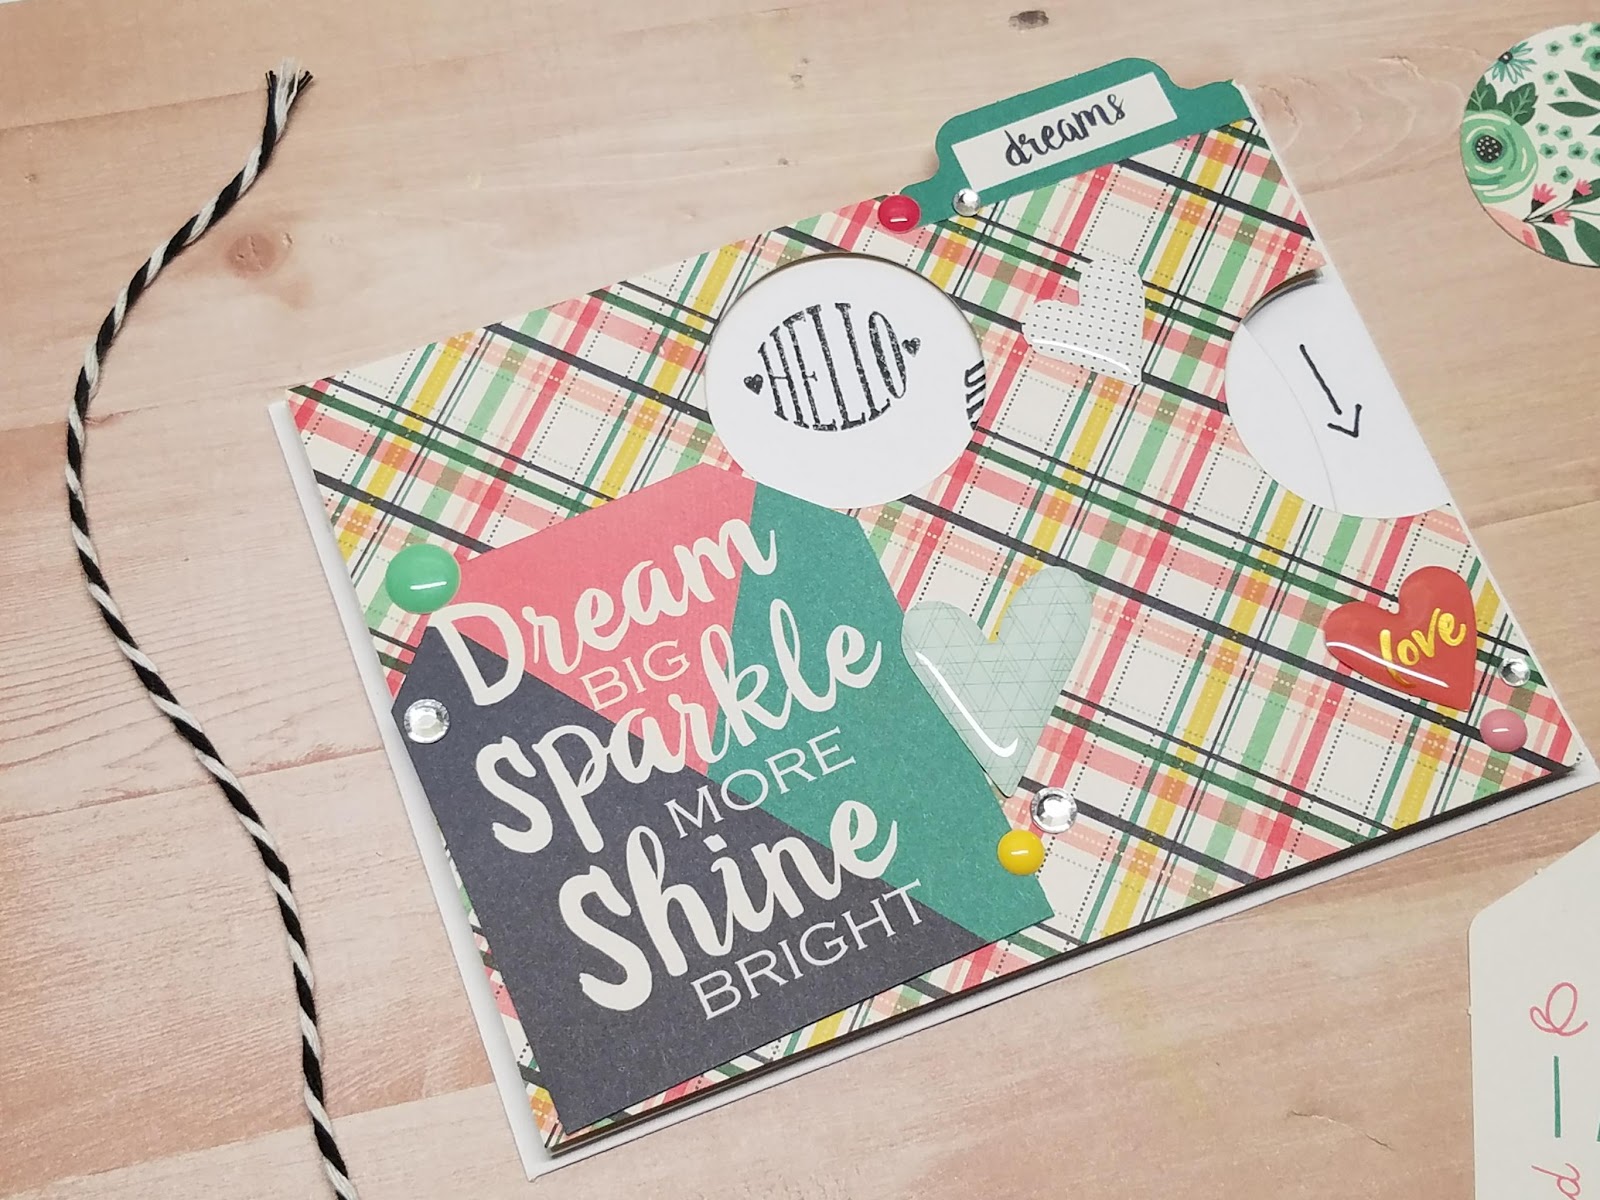
Rotating Sentiment Flipbook Cover
Hello everyone and Happy Monday!
Today's tutorial was a really fun one to put together. Inspired by my infinite attempt at simplifying a project, or making it more cost effective, I figured out a way to create a rotating sentiment element to my covers, by using items I already had in my stash.
I started by gathering three circle does from a WRMK nesting die set. One will be large for my sentiments , one small to hold that base and help with the rotating feature. The last circle will be to cut the opening for the sentiments to appear, and also to create my space where the person can rotate the "wheel" with their fingers.
Once I had my pieces cut, I was able to lay both my largest and smallest circle one right on top of the other, piercing a hole in the center of both, to add a small brad so I could secure them together. This will allow for the small circle to be the only portion adhered to my base and giving leverage so my largest circle can rotate. I used my sentiment window as a guide to stamp said sentiments on to my large circle.
Now that all my components are together, I can use foam tape to prop everything up, add embellishments and then create the rest of my flipbook!
This adds a wonderful interactive element to any project and it's quick and easy to create, even without a die cut machine!
For the full step by step tutorial and product list, please visit my YouTube Channel.
Happy crafting,
Eny Dunn


Comments
Post a Comment